DIY: Patterned Wall Squares
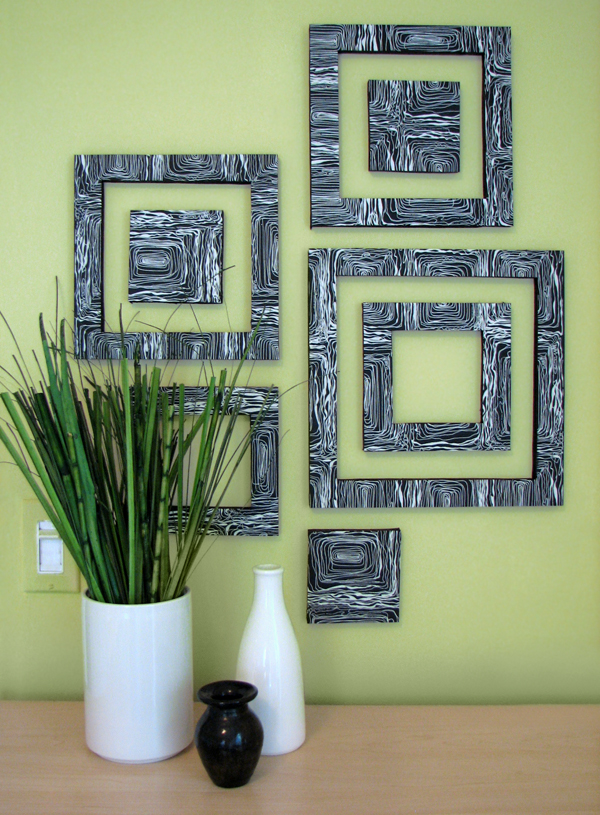
Greetings, decor8 readers! My name is Jessica Jones. I'm a professional graphic designer, and I write a blog called How About Orange which frequently features craft and DIY tutorials. I'm here today to share a project with you that you can customize to your liking using your favorite paper. Here's an inexpensive way to add a geometric vibe to any wall?perfect for apartments or dorm rooms where nail holes are not allowed!

What you'll need....
- 1/2-inch thick piece of foam board (available at art stores)
- Decorative paper
- Spray adhesive
- X-acto knife
- Ruler
- Pencil
- Acrylic paint
- Paintbrush
1. Spray your foam board with adhesive, making sure to hit all the corners and edges. Do this in a well-ventilated area on top of newspaper or protective plastic, not on your Chippendale dining room table. :) Position your decorative paper on the board and smooth it down. Be on the look out for air bubbles, you don't want those!
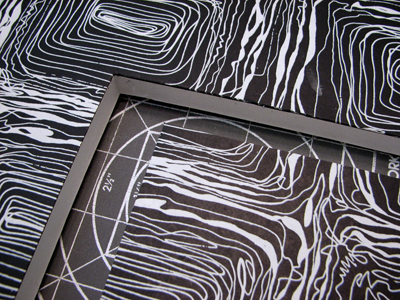
2. Decide how big your largest square will be and mark the corners with pencil dots. Position your ruler along the line you want to cut and slide your X-acto knife along it, cutting through the foam.
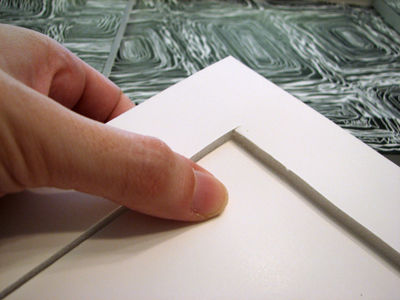
3. When your largest square is cut out, decide how wide you want your concentric "frames" to be. (Mine are 1.25" wide.) Mark off the next set of corners inside your cut-out square, and trim out the next piece. Cutting tips: Start with a brand new blade. Make a few practice cuts until you get the hang of it. Don't try to cut all the way through in one cut; use two or three. To avoid cutting past the point you want to stop, poke your knife in to make a short cut there first, then start cutting at the opposite end. If your cuts near the corners don't quite go all the way through, flip the board over and finish cutting them from the back. And please don't cut your fingers off. Holly doesn't want to get emails about your ER visit.
4. When your lines are cut through, pop the piece out by pushing from the back.
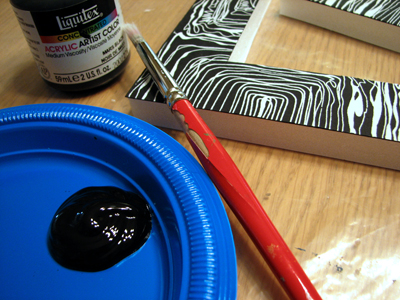
5. When all of your pieces are cut out, paint the sides with acrylic paint to match your paper. Let dry.
6. Attach the squares to your wall in a pleasing arrangement with wall putty or poster tape. I used blue painter's tape and it worked like a charm.
That's it! Of course if squares aren't your thing you can create any shape of your liking. Get creative and most of all have fun! If you try this project at home and would like to show off the results, contact Holly and make sure to send her an image of your work on the wall. She'll round up a few and share them on decor8 when she is back.
Thanks for having me today!
(images from jessica jones)


