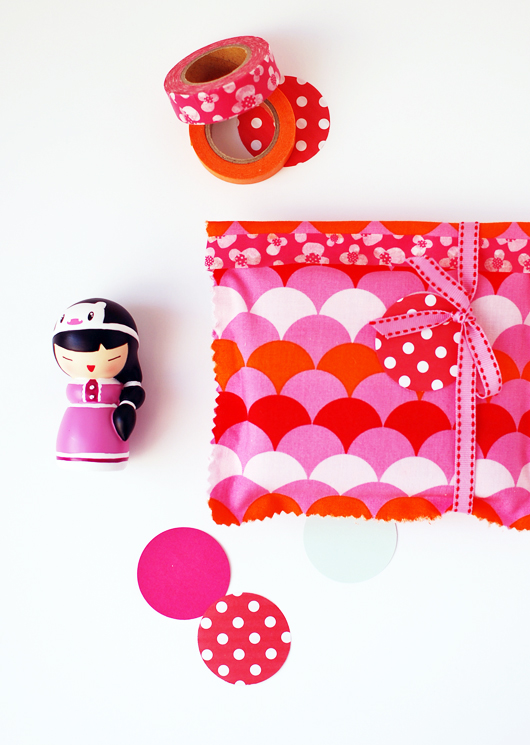
DIY: Fabric Gift Bags
Hello, it’s Lisa Tilse here from the red thread. I’m delighted to be a new contributor to decor8 and I’m excited to be sharing lovely simple and quick craft projects with you each month with a new column called Make Me. I believe everyone has some creativity in them, and crafting is a wonderful way to get in touch with that. Handmade is good for the soul – for your soul when you stop to focus on making with your hands and heart, and for those who receive the gift of something handmade.
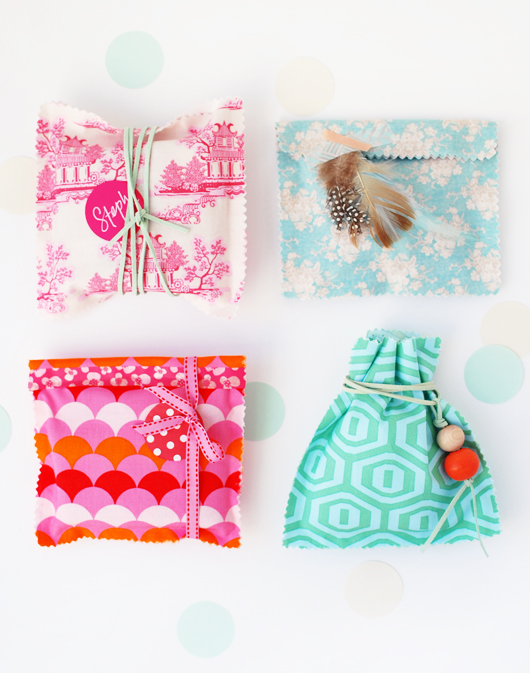
Even if you aren’t confident enough in your crafting skills to give a handmade gift, you can still put love and care into gift wrapping. This project is all about that – creating gorgeous unique no-sew fabric gift bags handmade by you. It’s quick and easy to make a batch of these in one session and you’ll have something ready for a little thank you or hostess gift.
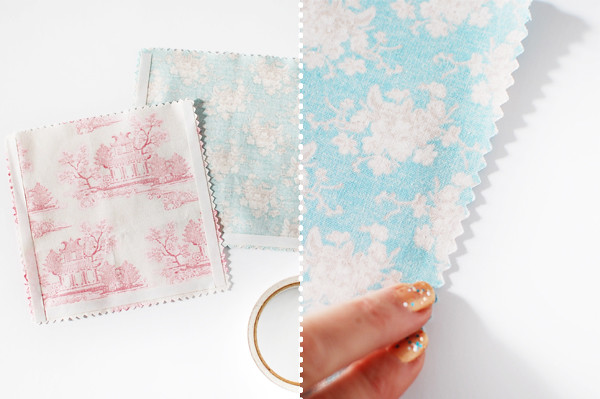
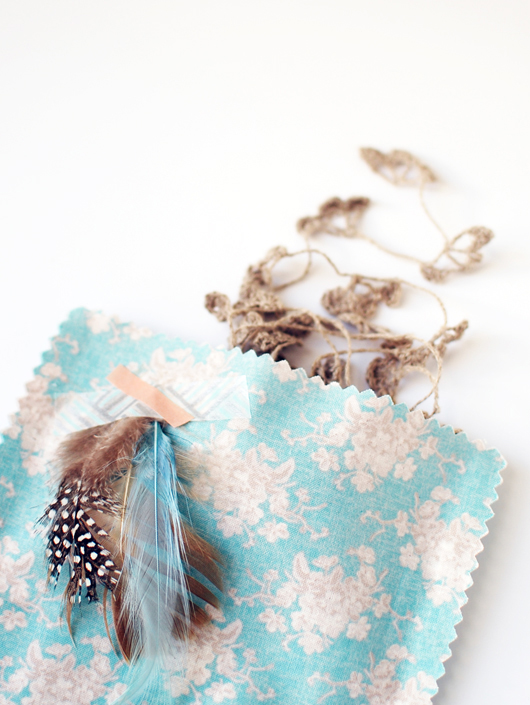
You’ll need: 6.5 inch square pieces of cotton fabric, 2 for each gift bag. Pinking scissors. These scissors cut with a zig zag line. They aren’t essential, but they give a lovely finish and stop the edges from fraying. Double sided tape about a quarter inch wide. Embellishments like ribbon, leather thonging, gift tags, feathers, pom poms, beads, or flowers.
Step 1: Cut the fabric Cut the fabric squares with pinking scissors. Quilting shops sell fabric precut to this size, and ‘charm packs’ which are 5 inch squares, both with pinked edges. These gift bags are also a great way to use up fabrics you have.
Step 2: Apply the tape Apply double sided tape on the wrong side of the fabric around three sides.
Step 3: Assemble the bags Remove the backing from the tape and position the second square of fabric on top so that all the edges are aligned. Rub along the taped edges with your fingernails to ensure both pieces of fabric are adhered to the tape. Easy!
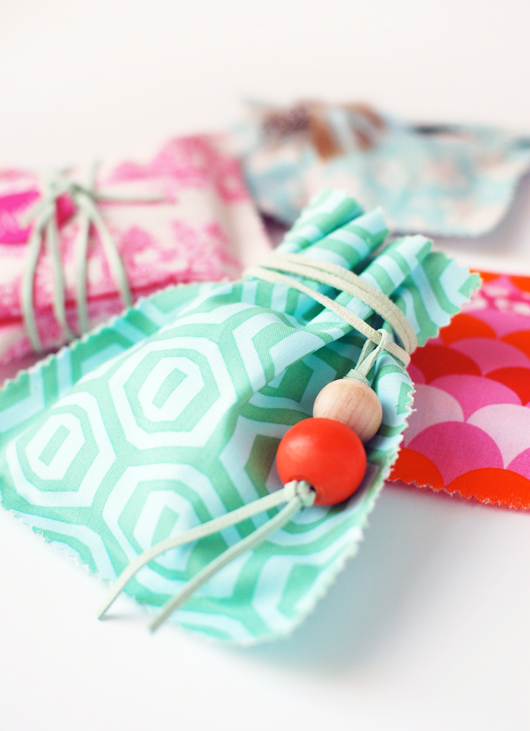
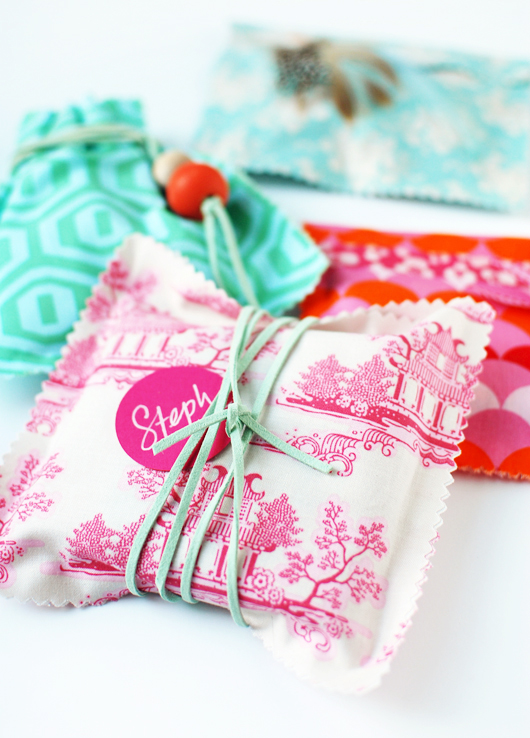
Step 4: Wrap and decorate Pop the gift inside. These fabric gift bags are strong enough to use for little gifts like jewelry, washi tape, gift cards, a lovely bar of soap, or a little wrapped sweet treat.
Have fun decorating! If you have any questions, please just ask me in the comments section below.
See you again in June with another Make Me column! - Lisa
(images/text: lisa tilse)


