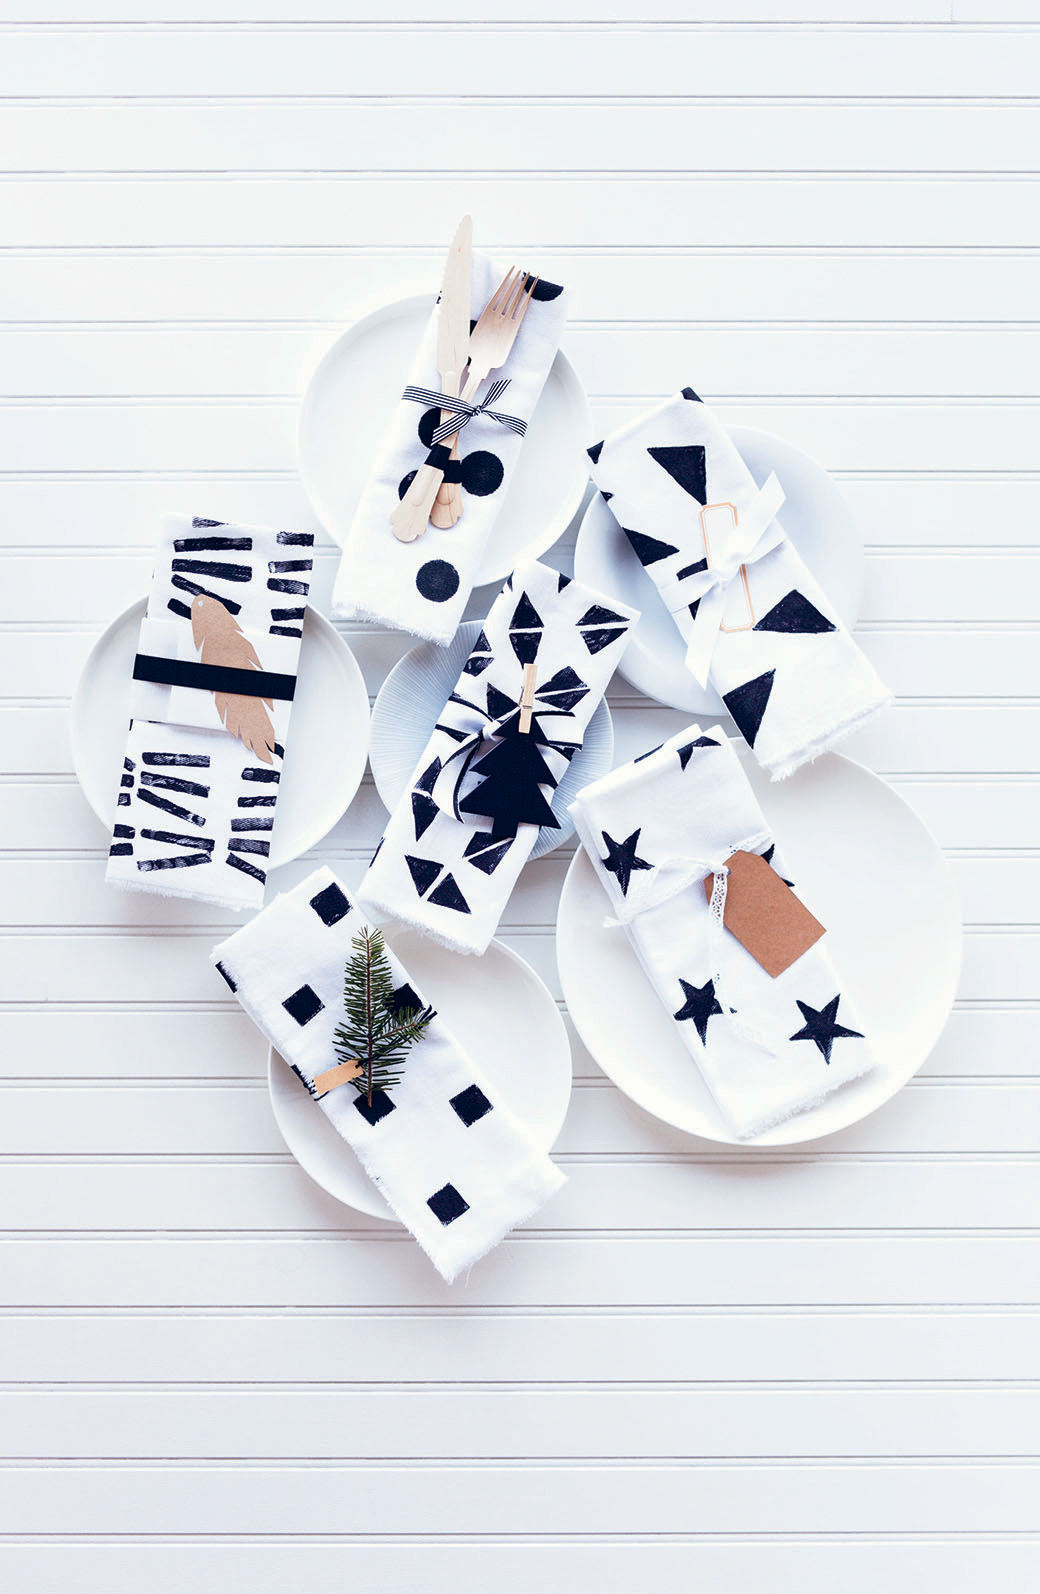
6 DIY Scandinavian Style Holiday Napkin Ideas
Would you like to learn how to make lovely stamped napkins for your holiday table this season? Well first, hi everyone and a very Happy Friday to you! Today is the 1 Advent and whether you celebrate the holidays or not, no doubt you will entertain this month in some way.
These patterns are very holiday-neutral I guess you can say, yet if you tie them up with pine or something Christmas-y, they instantly look very much in the Christmas spirit. I love these napkins because Leslie made them for our book, Decorate For a Party, and they can be used for all types of parties, year round.
Imagine stamping them in different colors for a playful birthday party, in pastels for a kids' party, or in white against deep blue linens for a more boho look? The great thing about crafting and making by hand is that the sky is the limit - your creativity can take you where you'd like to go.
“Putting together a party can be overwhelming, especially when you have no idea where to start. Decorate for a Party breaks it down both logistically and visually and helps you decipher your party style. Whether planning a big bash or an intimate gathering, it’s an essential to have on hand for all your upcoming festivities.”
Here are a few simple instructions on how to make each napkin that you see above. This DIY can be found directly in our book in the holiday craft party section, complete with our playlist of songs to put you in a mood that is merry and bright!
White Napkins 6 Ways:
ROW ONE (left to right)
1. SINGLE TRIANGLES - We used sticky-backed foam sheets from the craft store for our stamps. Simply cut out your desired shape, then peel back the covering and stick it to another piece of foam that is slightly larger than your stamp shape. We started with a triangle in a random pattern. (Note: You can also stick the foam to wooden blocks or use a potato to cut your shape, but we found the foam worked best for this project.)
2. SQUARES - This is a quick design to execute. Use a small square cut from the foam sheet and repeat.
3. STARS - A soft matte fabric paint is used to create these designs as the paint washes nicely and has a softer feel. Be careful not to use the harder dimensional fabric paints. A star is cut from the foam and repeated. We used a square-edged paintbrush to touch up in a few places.
ROW TWO (left to right)
4. BARS - Create this fun linear design by placing four foam strips together on one stamp.
5. SPOTS - For this design, we’ve used a round sponge stamp from the craft store.
6. DOUBLE TRIANGLES - We created two stamps and each had two different triangle foam shapes. Don’t be afraid to touch up your design with a small square-edged paintbrush to sharpen some of the edges of the design when necessary.
NOTE: For some of these patterns, you can make them more holiday-themed by altering the designs just a little bit. For instance, the triangles could be stacked to look like Christmas trees by stacking 3 on top of each other from example 1. The spots, example 5, could be stacked in threes to form a snowman. You can also mix and match prints. The bars and spots together could be created to read Ho Ho Ho.
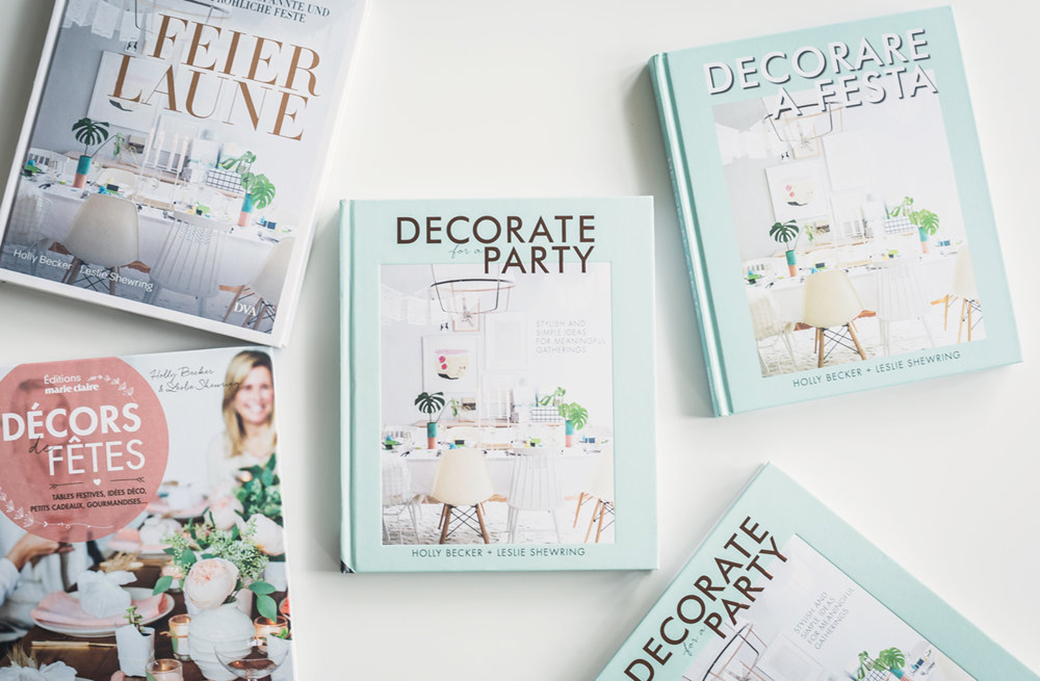
Decorate For a Party, Available in English, German, French and Italian and available where all fine books are sold.
Decorate For a Party is available in GERMAN, FRENCH and ITALIAN and of course in BRITISH ENGLISH and also AMERICAN ENGLISH. It also available in Australia via Murdoch Books and Hardie Grant.
Have a lovely weekend everyone, I wish you a wonderful start to December!
Love,
Holly


