7 Great Ways To Display Photos At Home
Hi friends! I want to quickly share with you a project that I worked on for Canon Europe in 2013 that I can finally share publicly. It was for an advertorial that was seen in hundreds of magazines across Europe, the UK and Russia. I was asked to comment on and show ways to use photos for decorating the home. And of course, I had to take the photos, print them all out, and then style them in my home in a creative way. The ideas are still very current so I thought to share them with you today.
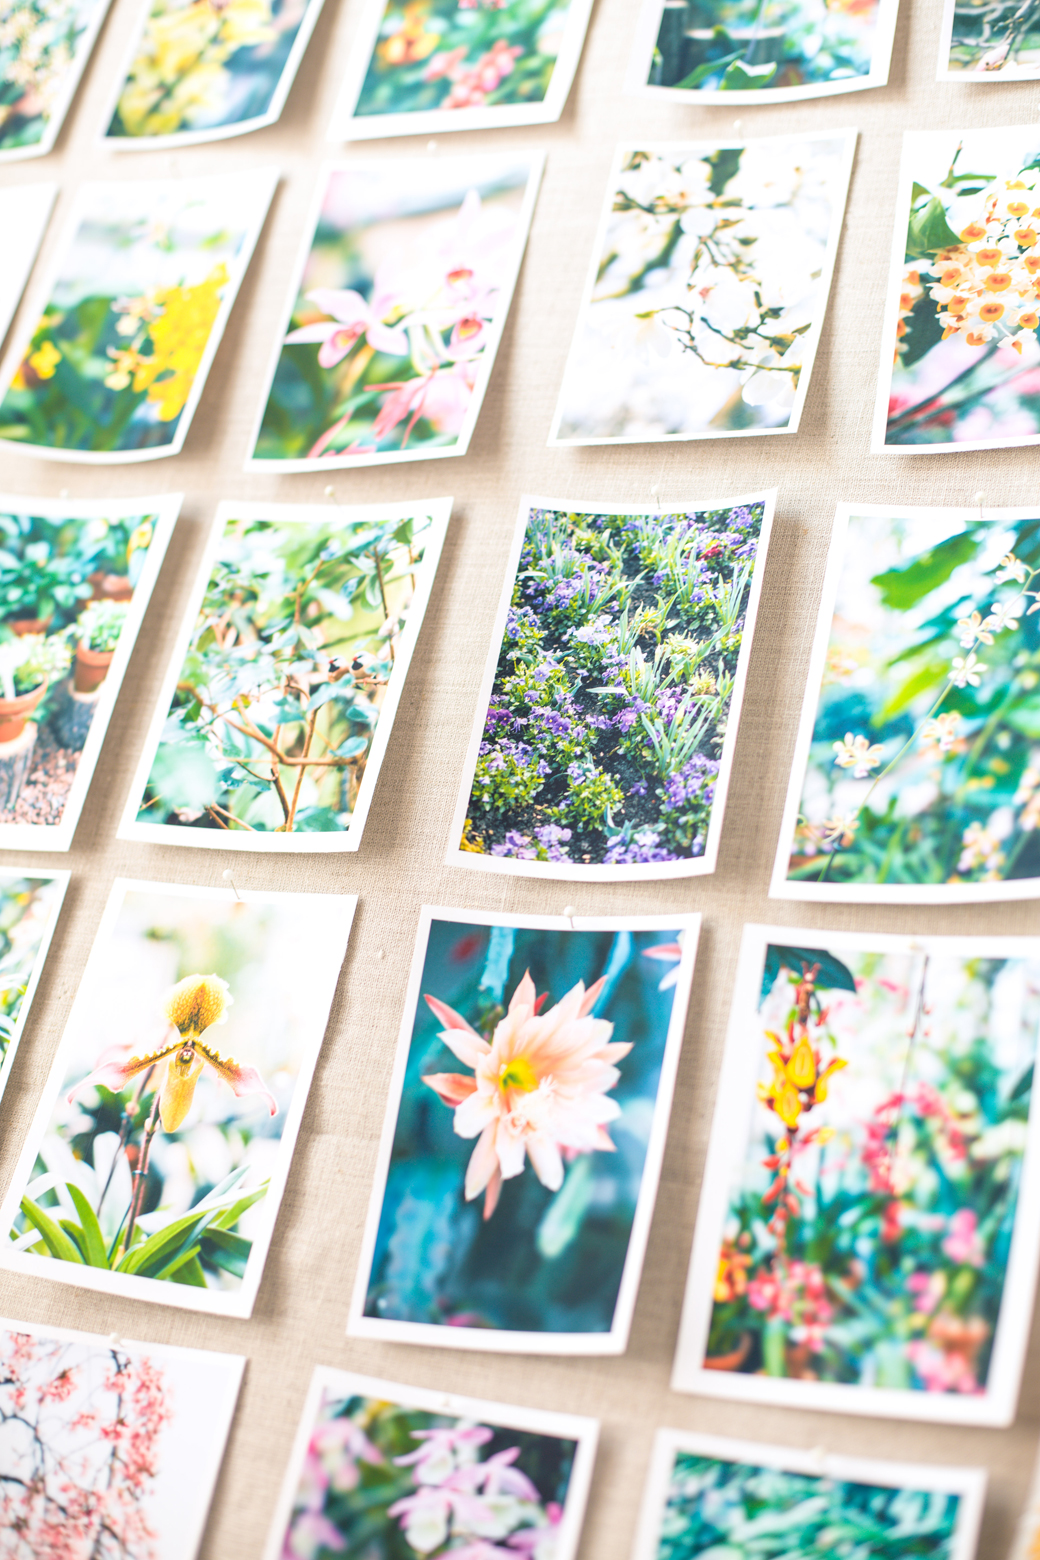
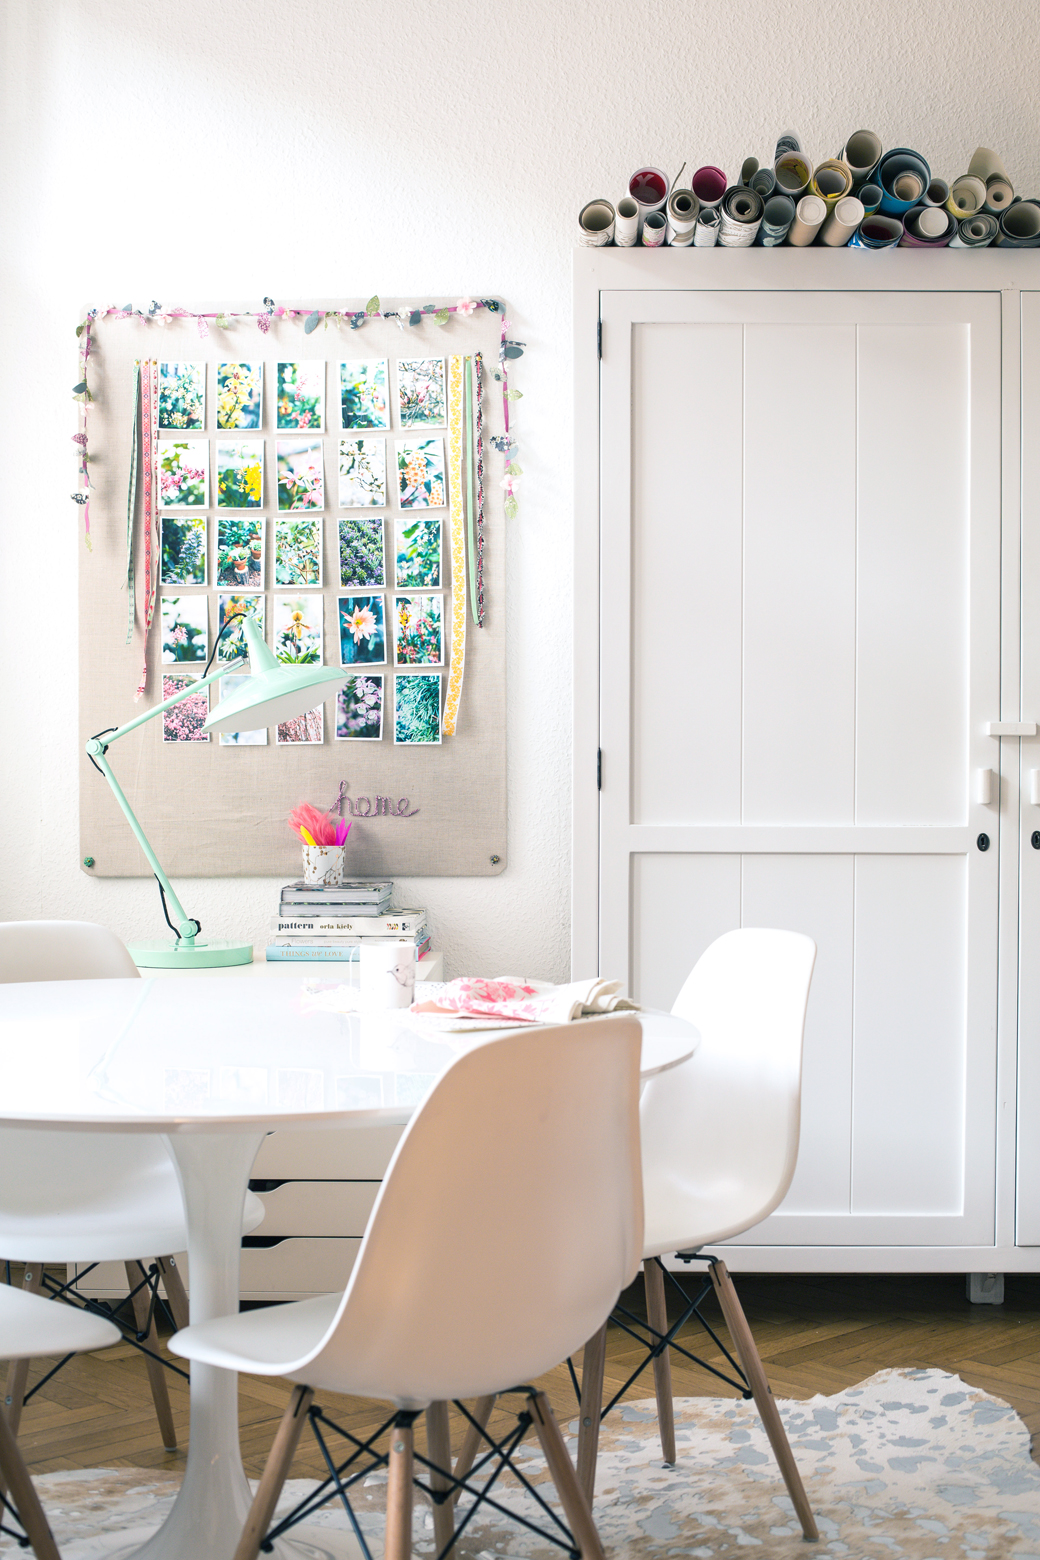
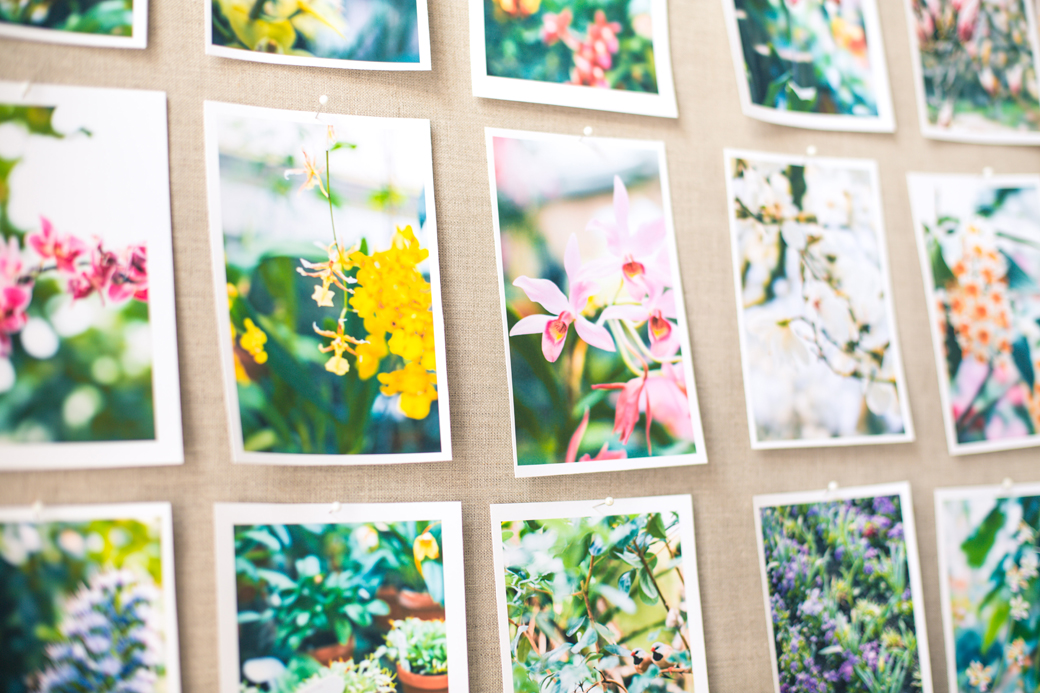
1: GRID. I spent a day in the greenhouses at the Berggarten in Herrenhausen located in Hannover taking photos. It was amazing! Their orchid collection alone is one of the best in Europe. After a day shooting, I did some light post-processing in Lightroom and then printed my favorites out on Canon matte photo paper. I cut them all with a paper cutter. Then I pinned them in a grid format onto my mood board in my former work studio (I've moved since). This inspired me for a few months, I had my very own indoor botanical garden and it was so nice to look at each day.

2. CIRCLE. I thought that it could be fun to try using a wooden hoop from the craft store in a fun, new way other than for needlepoint. I took some of my photos and used double-sided tape on the back to fix them to the wooden hoop. I then hung the hoop on my wall and there you have it, a sweet display that you can easily update with new photos, too.
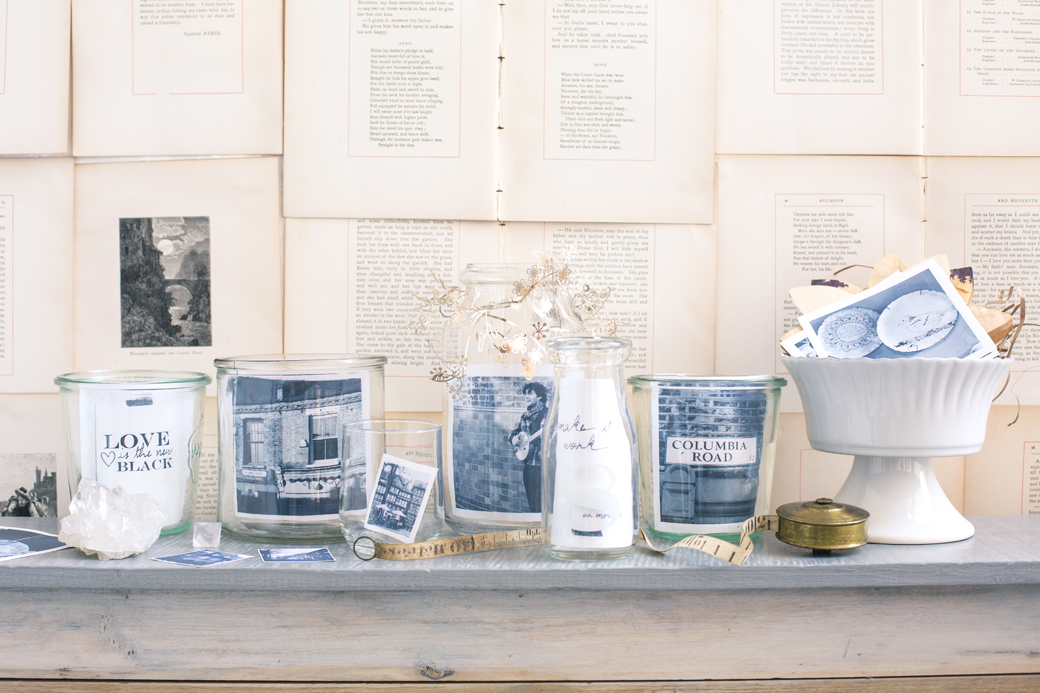
3. IN GLASS VESSELS. I started doing this with photos in 2006 using canning jars. On this fireplace mantle, I printed out photos I'd taken in London onto paper and just inserted them into vessels in various sizes. I don't suggest doing this with precious photos (vintage family stuff) because the photos will curve over time, but if you've printed them out yourself from your digital camera, there is no worry because you have the photos on your computer.
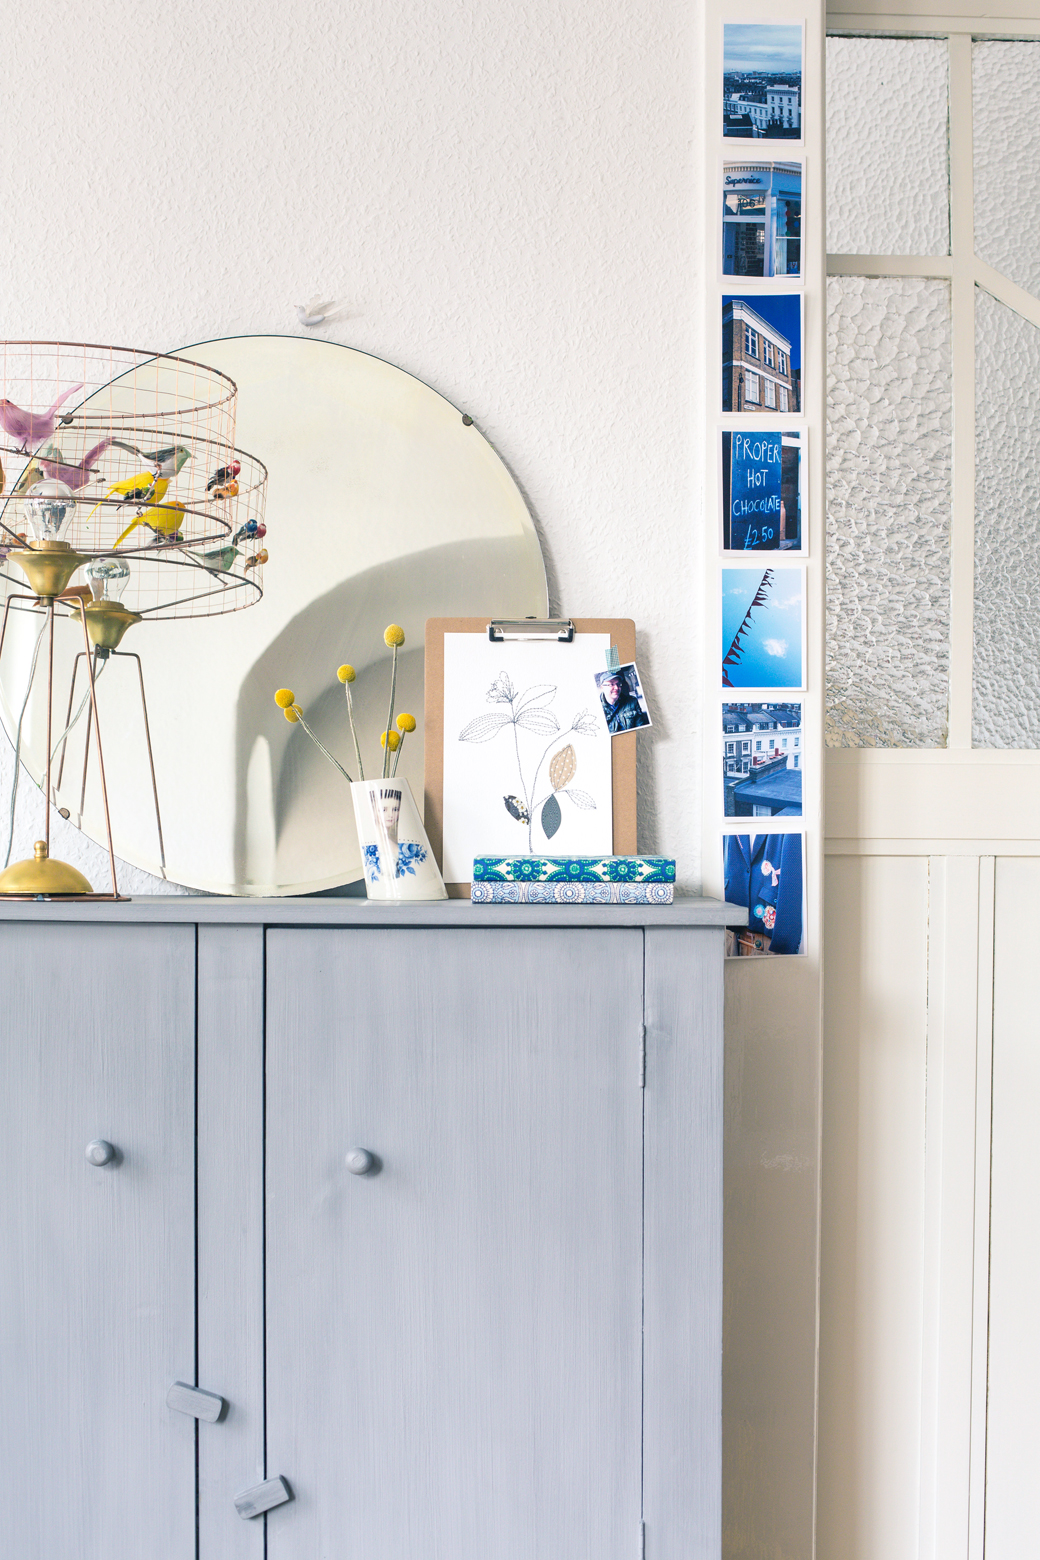
4. ON A DOOR FRAME. If you have a series of photos in a specific color or theme, you could try this by just tacking them up with double-sided tape, but keep them in a straight line and color match them to the nearest piece of furniture or colors in the existing room.
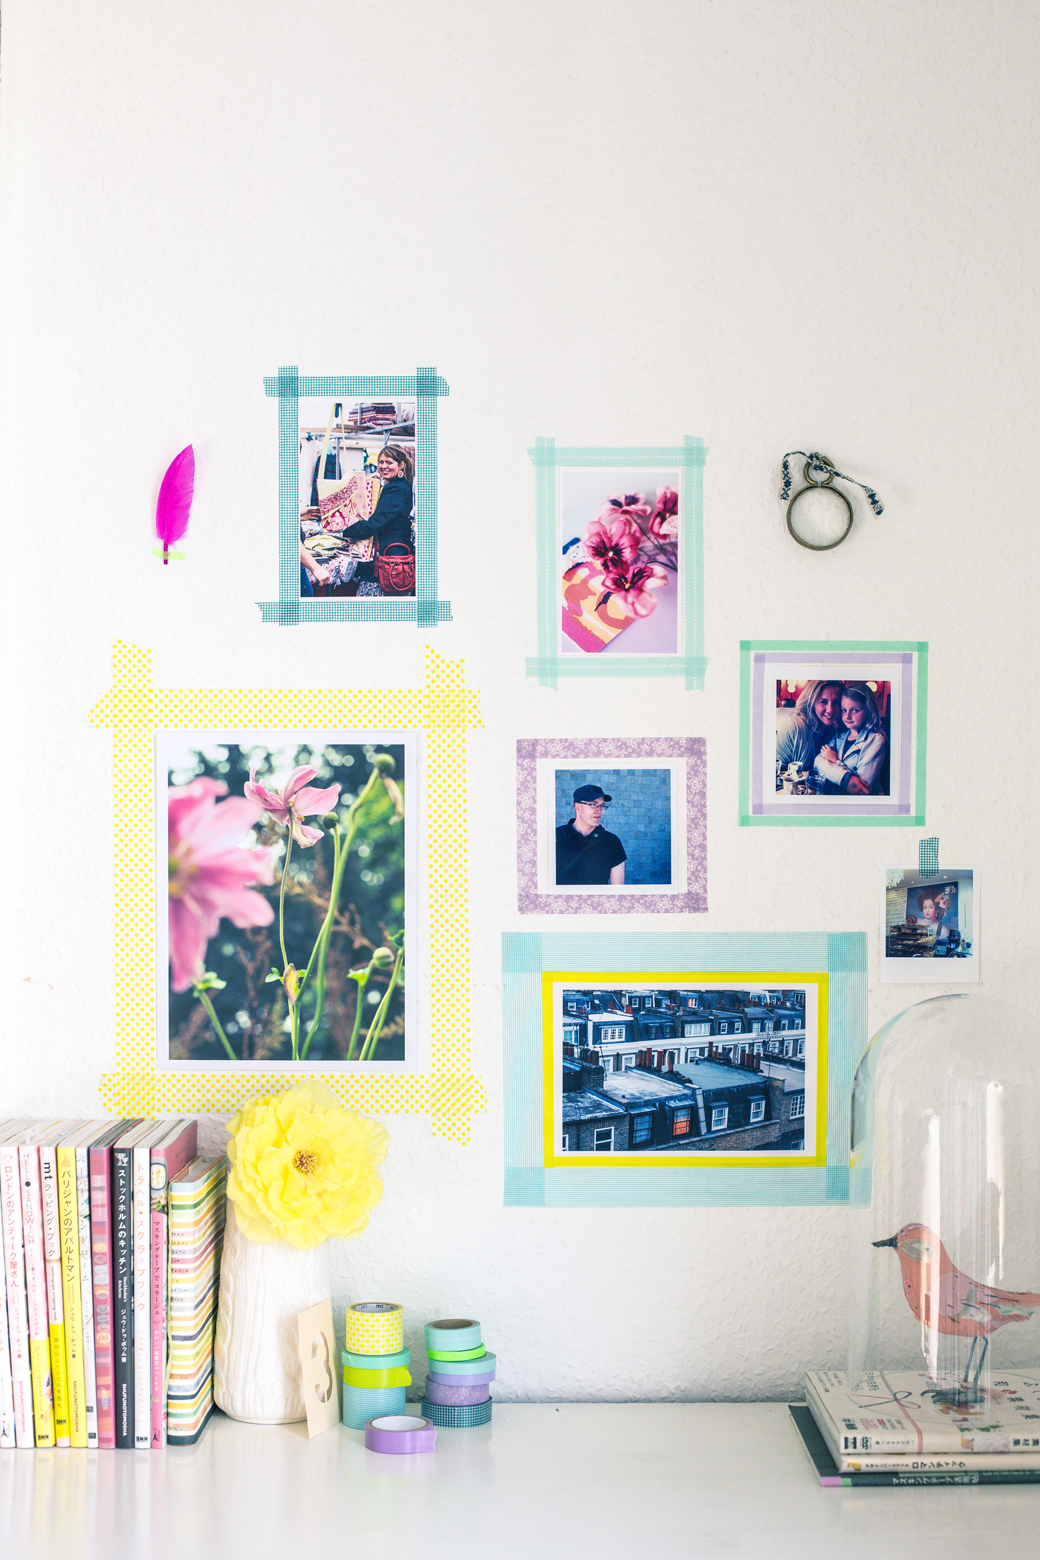
5. INSIDE OF WASHI TAPE FRAMES. This is such an easy way to show photos, and looks especially cute in a kid's room. Here, I printed out photos and used double-sided tape and fixed them to the wall, then used strips of washi tape from MT TAPE to frame them. I tried to coordinate the washi tape with the things on top of the dresser to keep everything color coordinated. I also mixed and matched the patterns on the tape and for some frames, I used wider tape and for some, I used two frames around one photo. It's fun to keep things interesting. I also printed out one photo and hand cut it "Polaroid Style" and used a single strip of tape to stick it on the wall (above the bird in the glass dome).
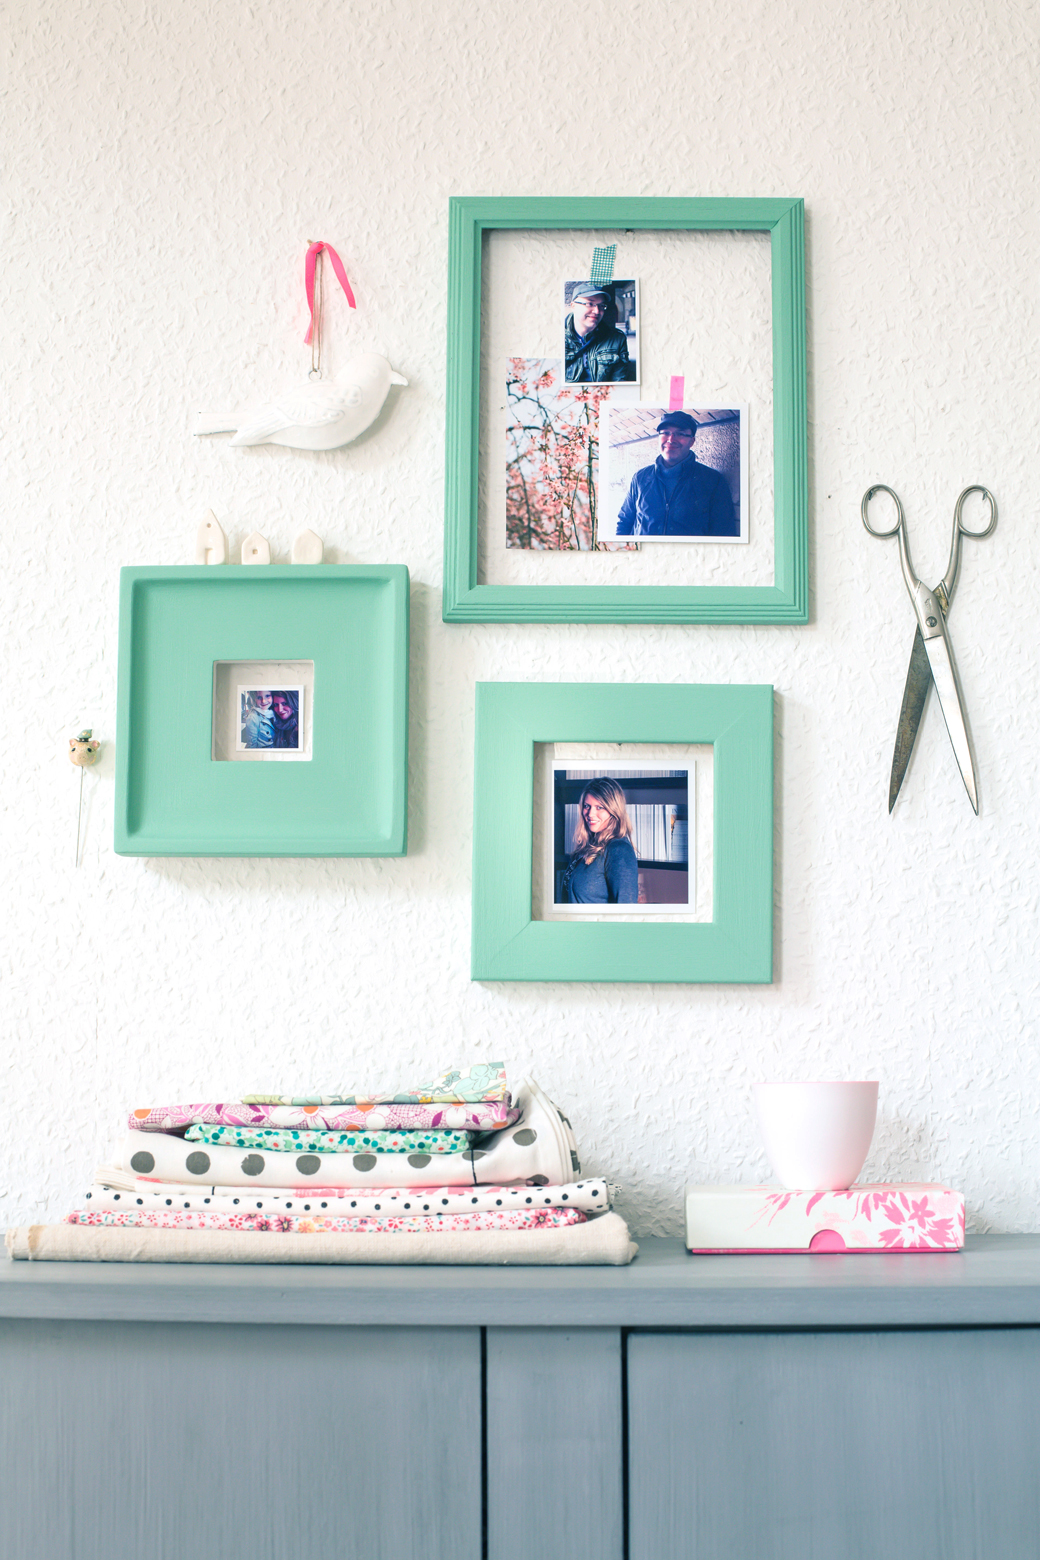
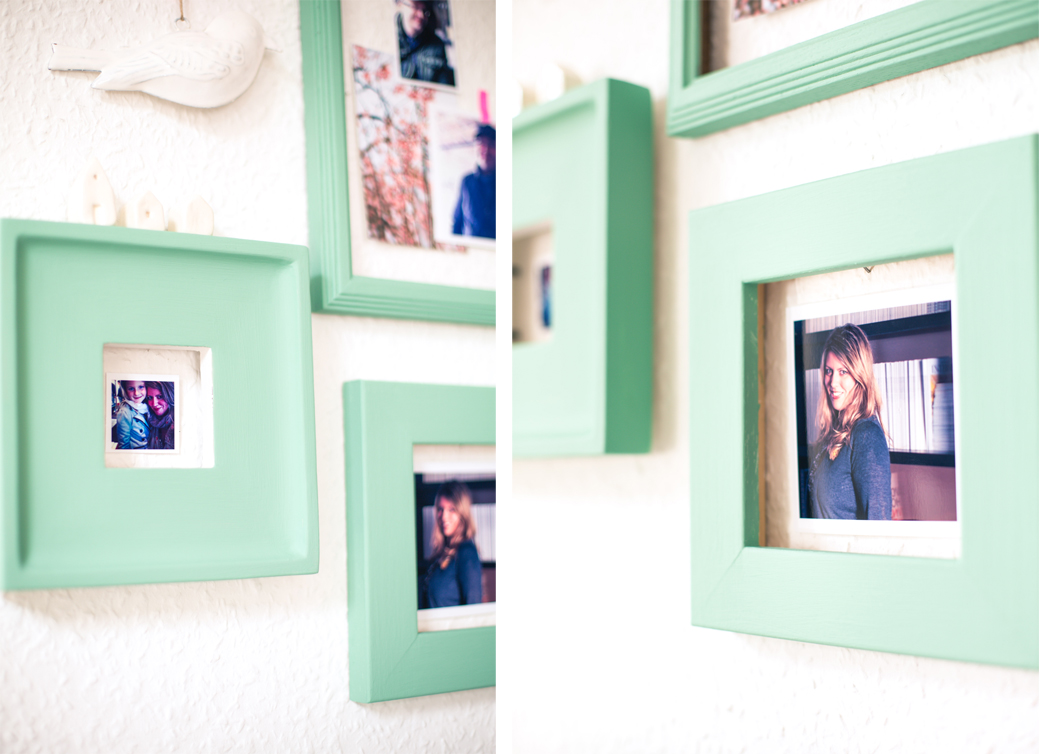
6. INSIDE OF FRAMES (no glass). I had fun with this project because I got to use some ugly old frames in a new way. I first removed the back and the glass, then lightly sanded and washed them well, then once dry, I painted them in Farrow & Ball "Arsenic". It's the best green ever, seriously, so cool! Once they were dry, I hung them on the wall and just taped photos inside that I printed out.
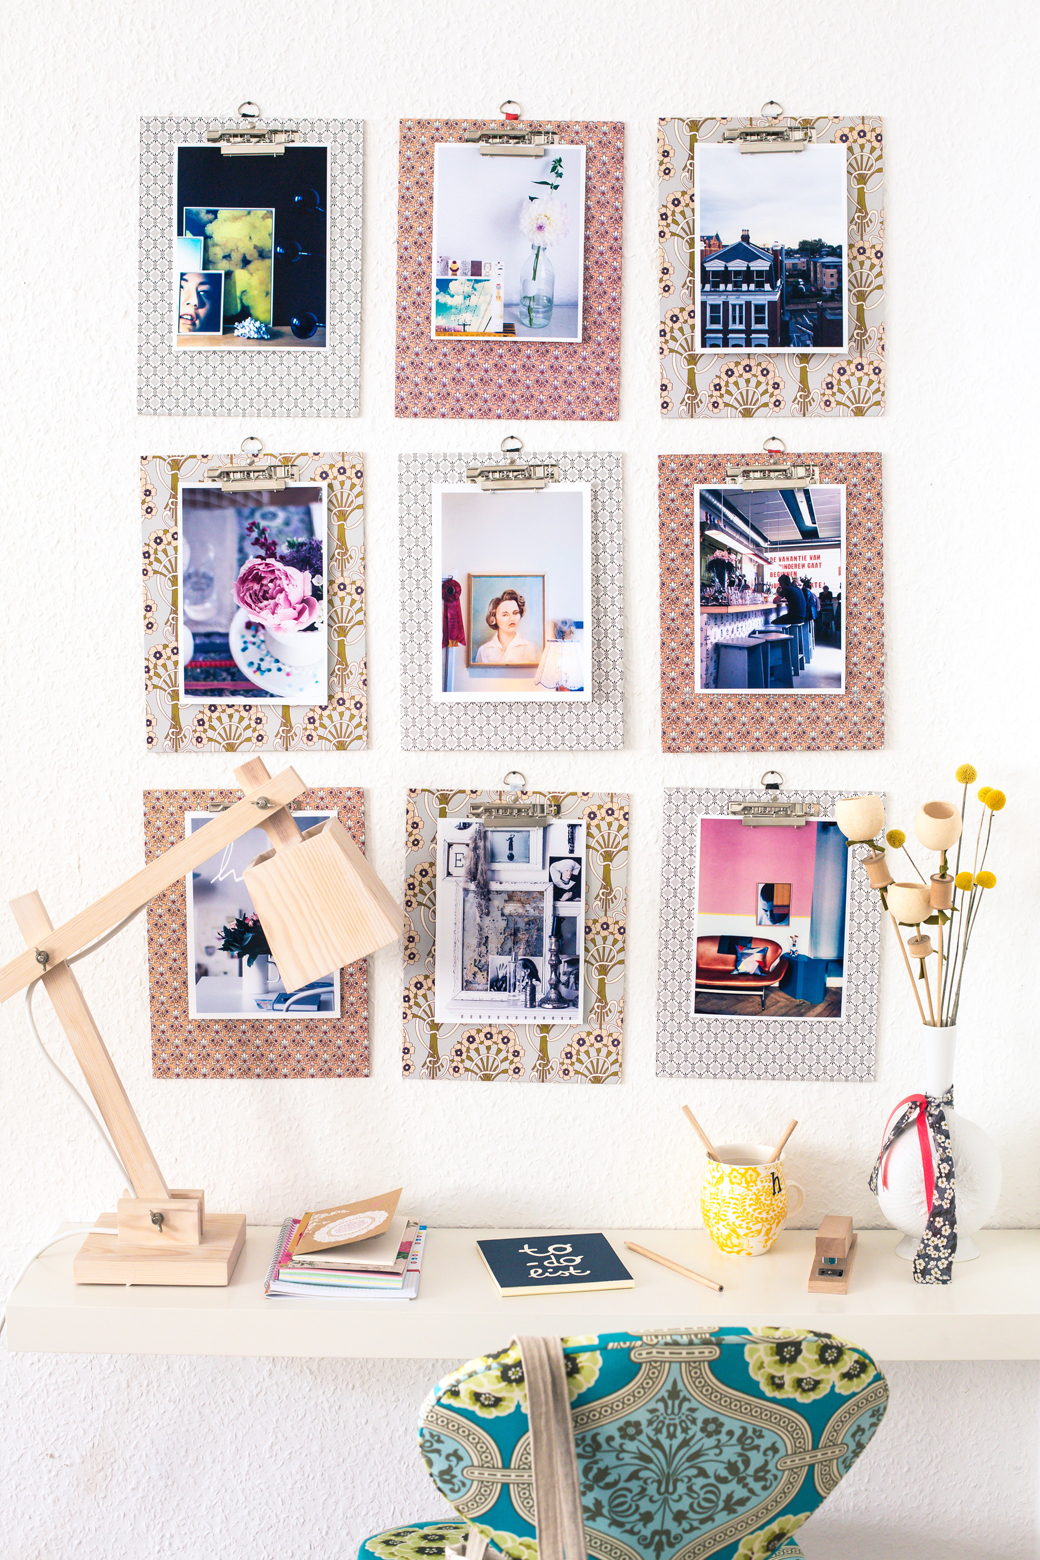
7. ON CLIPBOARDS. I picked up these nine clipboards from my friend Tinna years ago and put them above a makeshift desk I'd made using a deep LACK shelf from Ikea. I printed out 2 photos from my 2nd book, Decorate Workshop, taken by Debi Treloar along with some photos I'd taken, and just clipped one to each. Pretty, right?
Hope you like my ideas! I cannot believe how many years ago I styled this story, but it still feels fresh and I'm so happy I can finally share it with you.
(Photography: Close Focus Studios)

